REBEL (RBL) Coin Masternode Setup
#
This guide will assist you in setting up a REBEL (RBL) Coin Masternode on a Linux Server running Ubuntu 16.04 / 18.04
Requirements #
- 1000 REBEL (RBL) Coin.
- A VPS running Linux Ubuntu 16.04 or 18.04 with 1 CPU & 1GB Memory minimum (2gb Recommended) from Vultr or any other providers.
- REBEL (RBL) Coin Wallet (Local Wallet)
- An SSH Client (Putty or Bitvise)
Connecting to the VPS and installing the masternode script
#
1. Log into the VPS with root

2. Git Installation: #
sudo apt-get install -y git-core

3. Clone MN setup script: #
git clone https://github.com/RebelStation/Rebel-MN.git

4. Start MN setup script: #
cd Rebel-MN && chmod +x ./RBL-MN.sh && ./RBL-MN.sh

5. Now ask for VPS Public IP Address
#

6. Copy masternode private key from VPS console window and pres “Enter”:
#
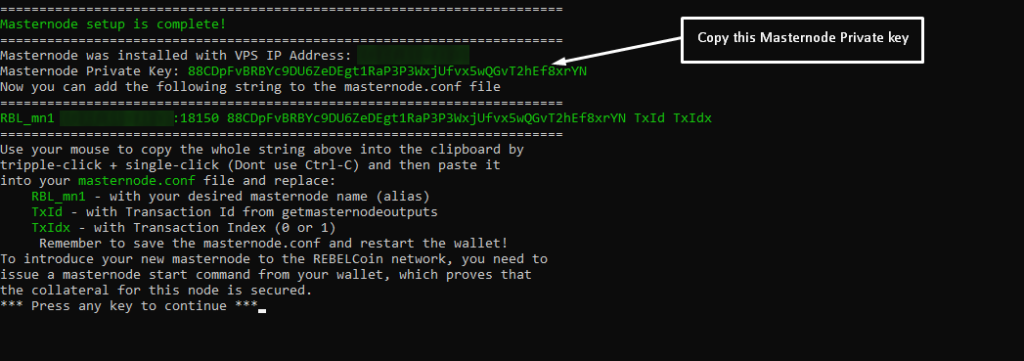
- if you see this, you are on the right track:

- to check VPS daemon status, type:
rebelcoin-cli getinfo

Setup QT wallet #
1. Create new receiving address and copy it
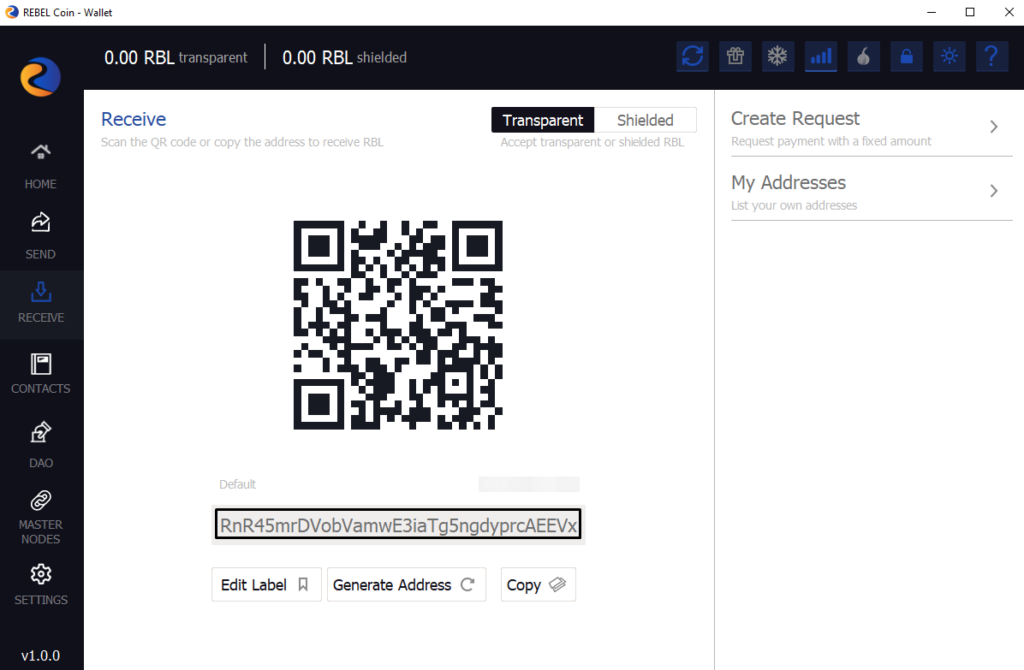
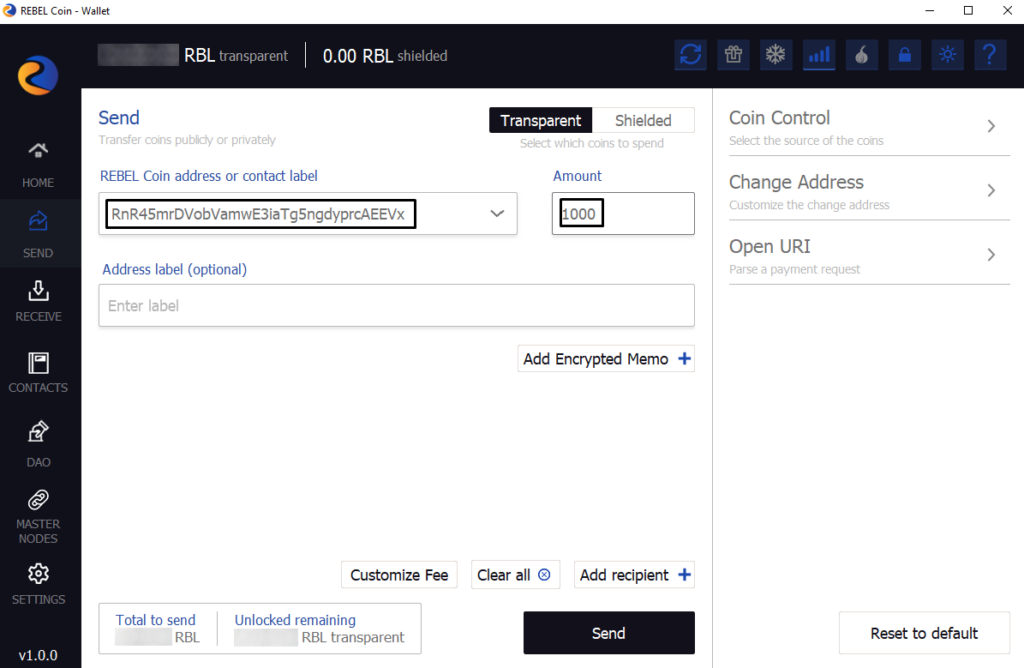
2. Send 1000 REBELCoin to copied address
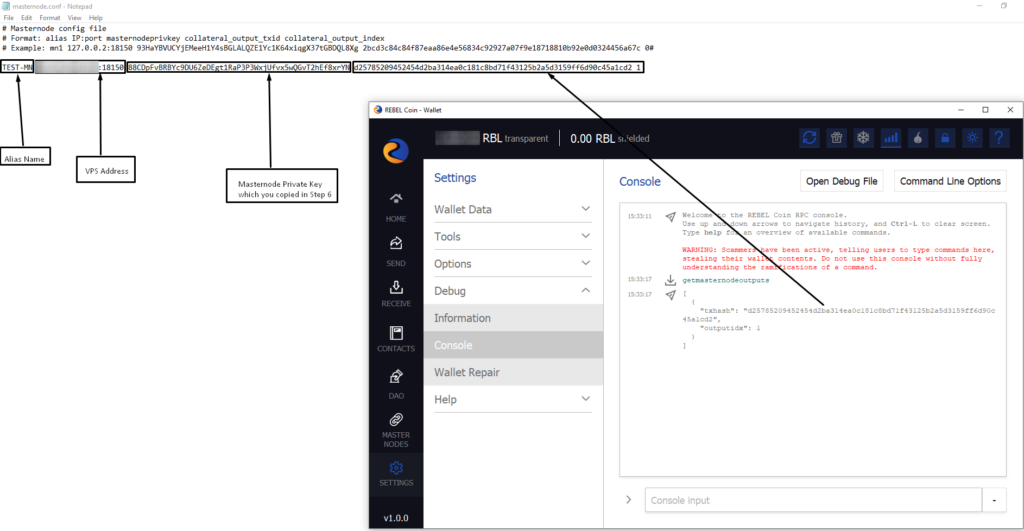
3. Open console Get MN output and set masternode configuration file and save it
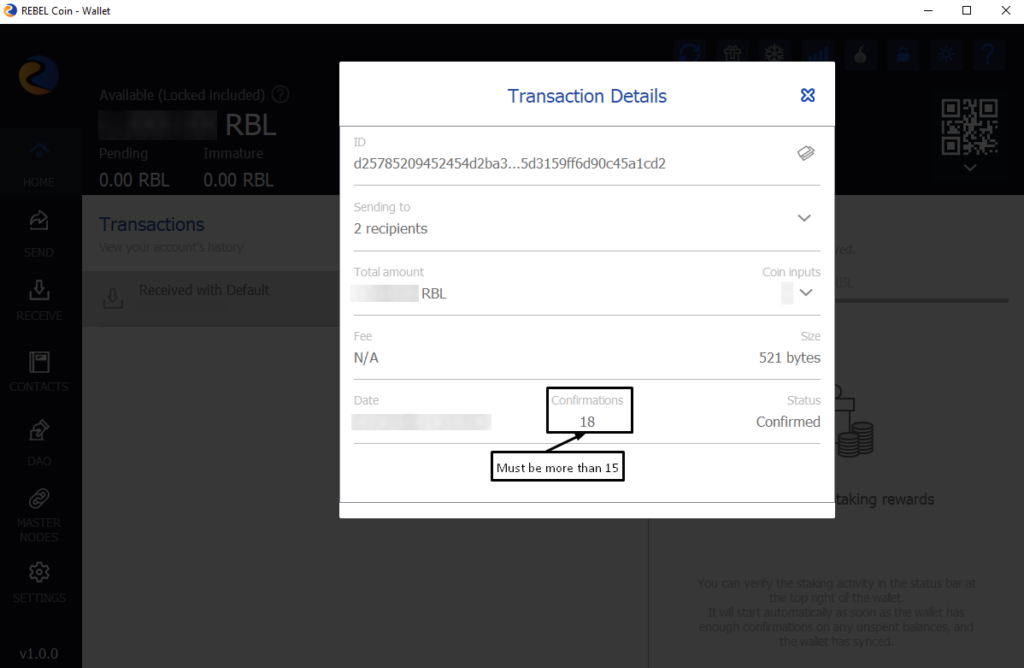
4. Wait at least 15 confirmations of transaction
5. Restart QT wallet #
- it’s important
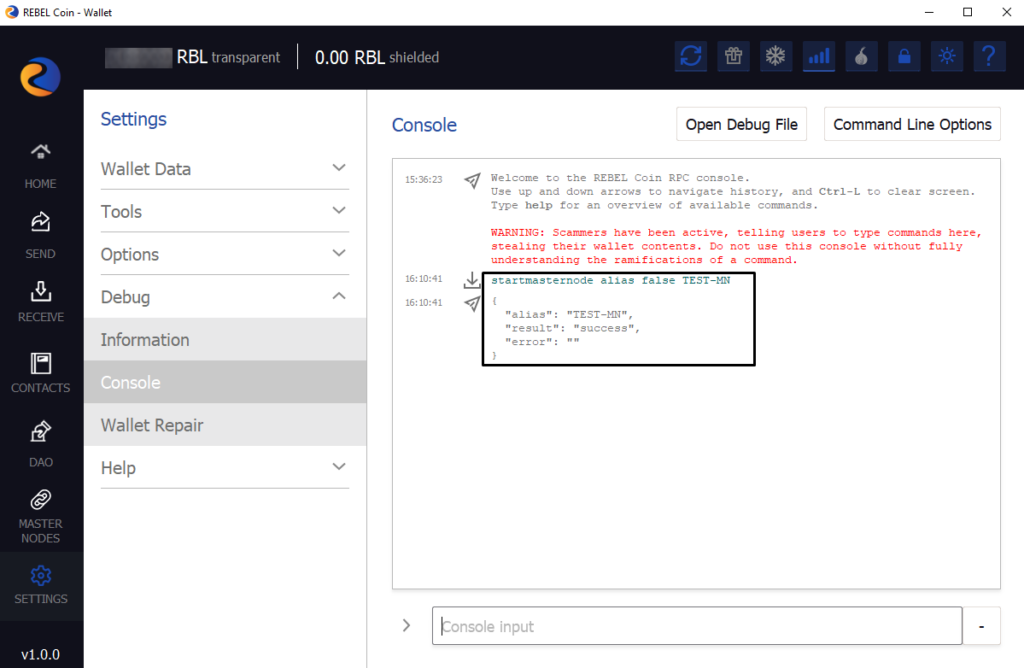
6. Start MN in QT wallet console: #
startmasternode alias false TEST-MN
7. Check Masternode Status in VPS: #
rebelcoin-cli startmasternode local falserebelcoin-cli getmasternodestatus

Сongratulations you did it!

